Here is a short tutorial, which will allow you to add realistic earth and mud effects on your sceneries, vehicles, or bases.
This technique can also be used to “sculpt” landscapes “in projection” that go beyond the base.
The Material
You will need four products :
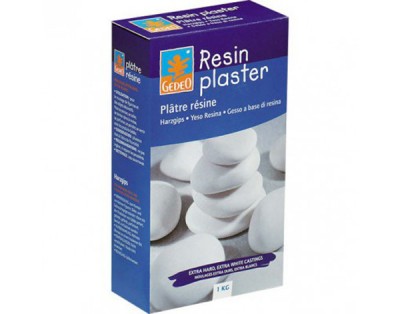
-Plaster (resin or not).
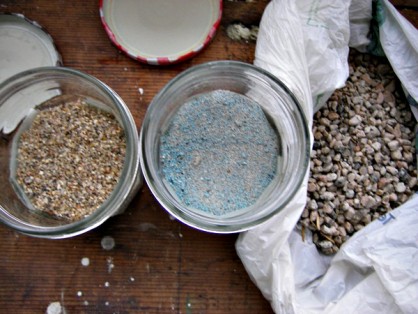
-Sand, preferably of various grain size.
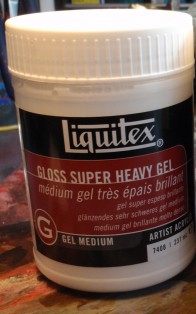
-A clear acrylic medium. Here, the Super Heavy Gloss from Liquitex.
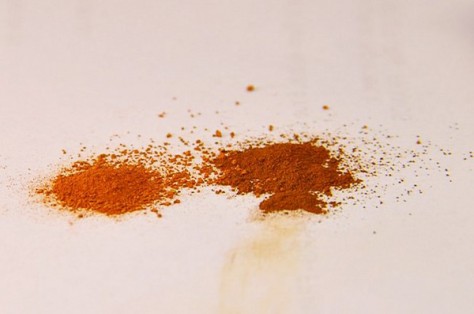
-Pigments. Beware that it is better to use pigments darker than the desired earth’s color. Indeed, when it is wet, it will all seem darker than it will be in the end.
Application phase
In a ramekin, or a bottle’s bottom, we dispense all the ingredients.
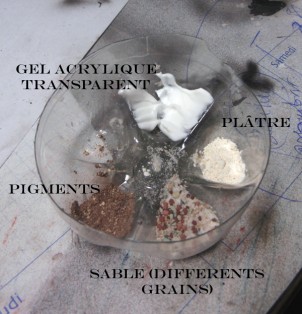
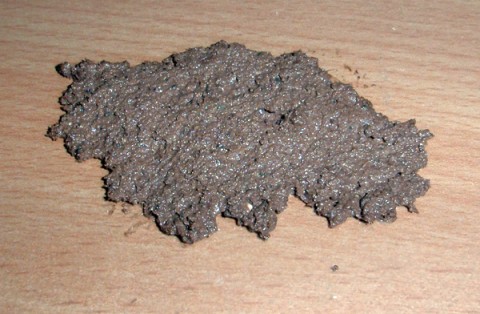
We mix everything until we get a homogeneous paste. Then, we only need to spread it (in the case we want to create a projected earth effect or a ground surface that goes beyond the base).
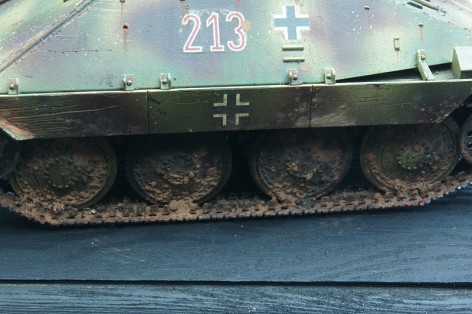
In the case of a vehicle (here shown by David Petit), we only need to spread the paste directly over the concerned parts, by dabbing with a brush, for example. At least 24 hours of drying time are necessary.
Know then that this paste can be used pure (mud on a tank, or a mass of mud on a base), or be painted over while keeping the resulting color as base color.
To keep the wet effect, you only need to keep a dark shade and finish with a good layer of gloss varnish over it.
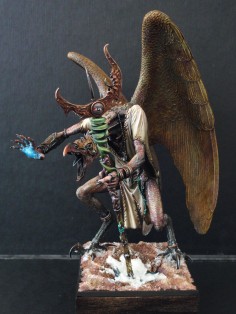
For my Lord of Change (Forgeworld), I then cut the plate in little bits. Then, I make a little positioning test on the base, just to manage the breaking effect.
I painted over the earth.
So this was a little technique which gives a very realistic effect at a low cost, and above all, that does not require a lot of dexterity or thinking! Not everything is complicated when it comes to the results in the miniatures domain.


